Celebrity Portrait
Annie Leibovitz has made a career photographing celebrities.
Similarly, your assignment is to create a realistic portrait of a celebrity, focusing on shadows and highlights.
Similarly, your assignment is to create a realistic portrait of a celebrity, focusing on shadows and highlights.
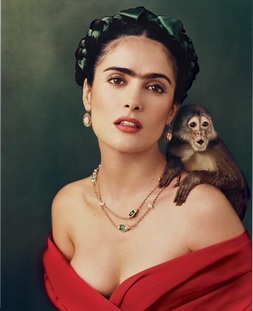
Salma Hayek as Frida Kahlo
Photograph by Annie Lebowitz Masterpiece Portraits - http://artnaz.com/annie-leibovitz/
|
Photoshop Practice: Eye
|
|
|
|
|
|
Celebrity Portrait Project
|
|
|
|
|
|
|
|
|
|
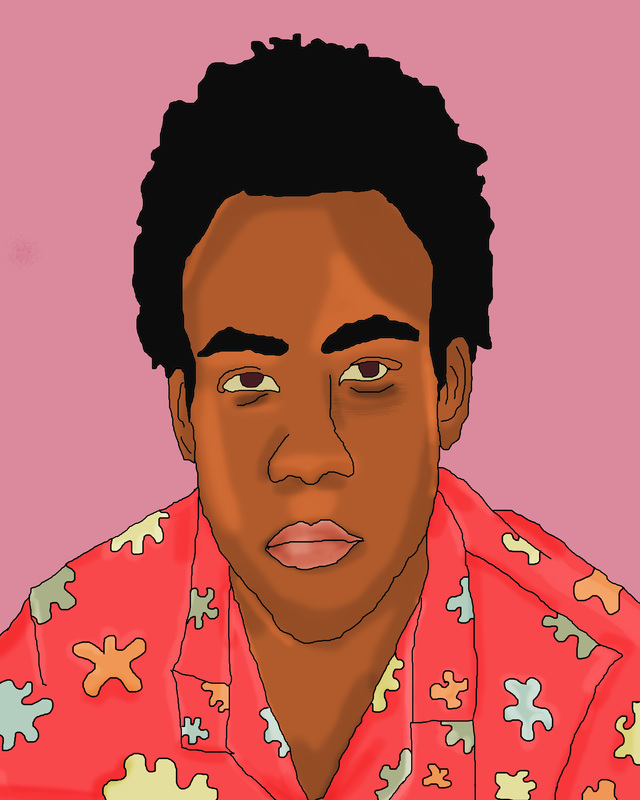
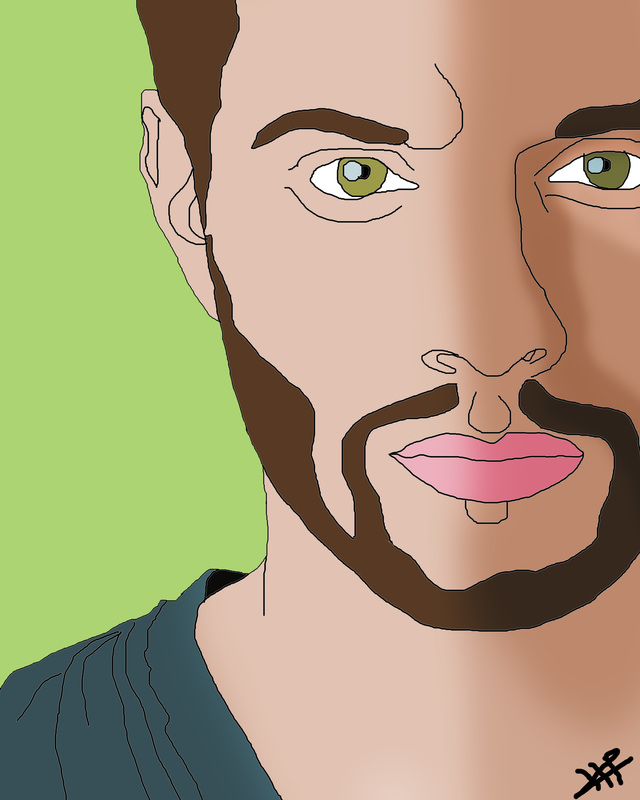
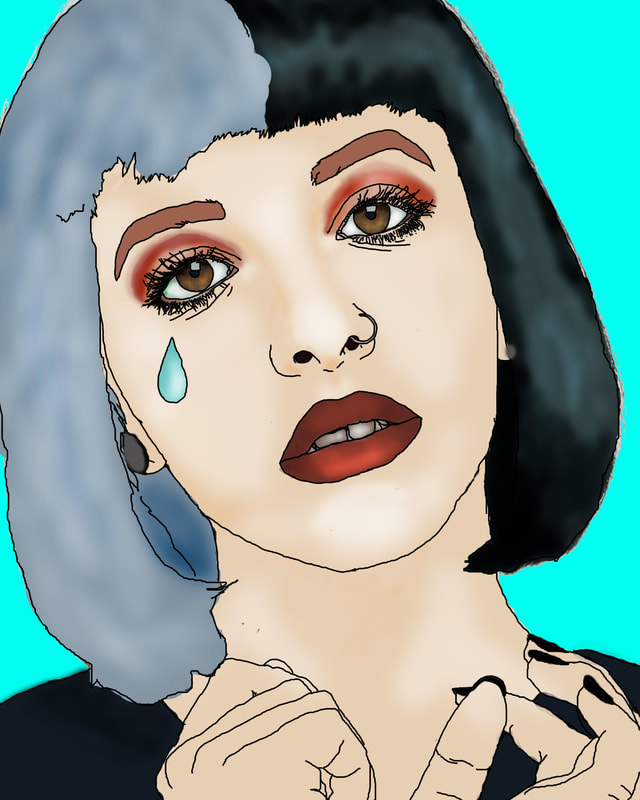
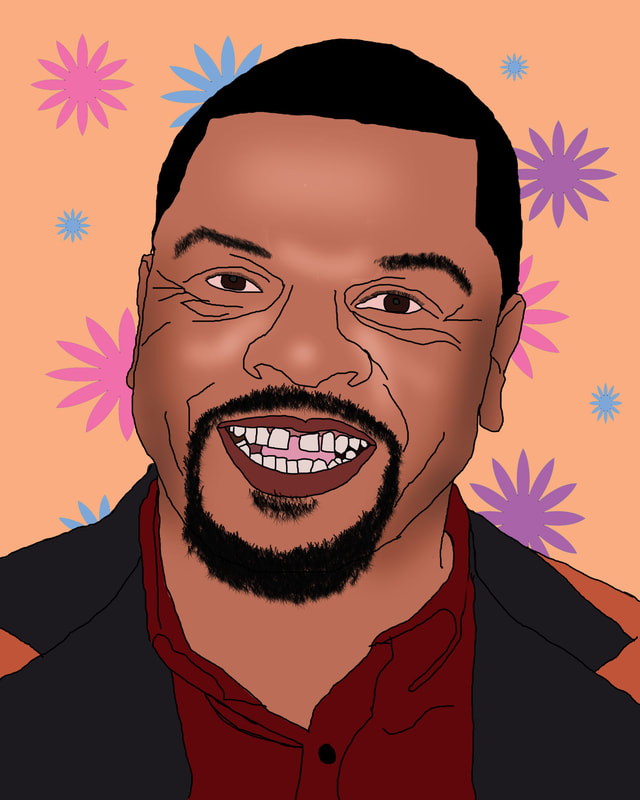
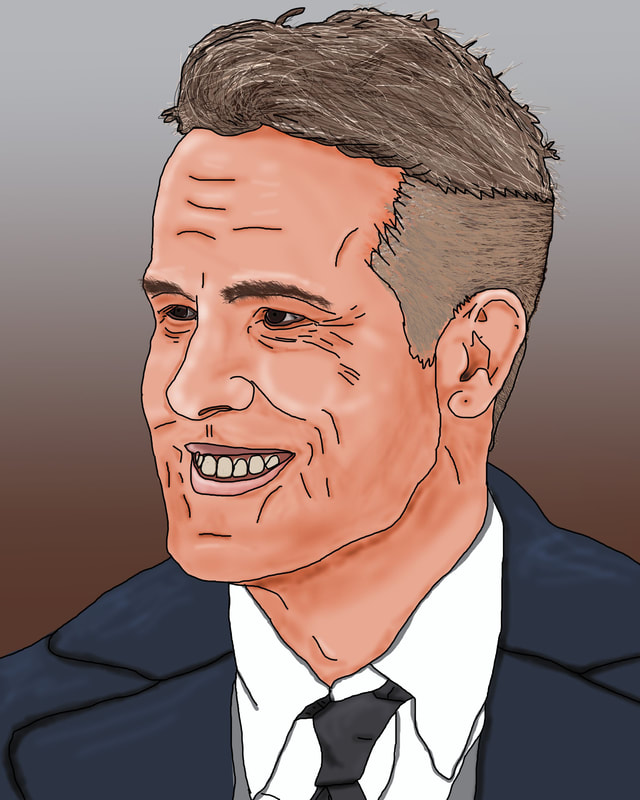
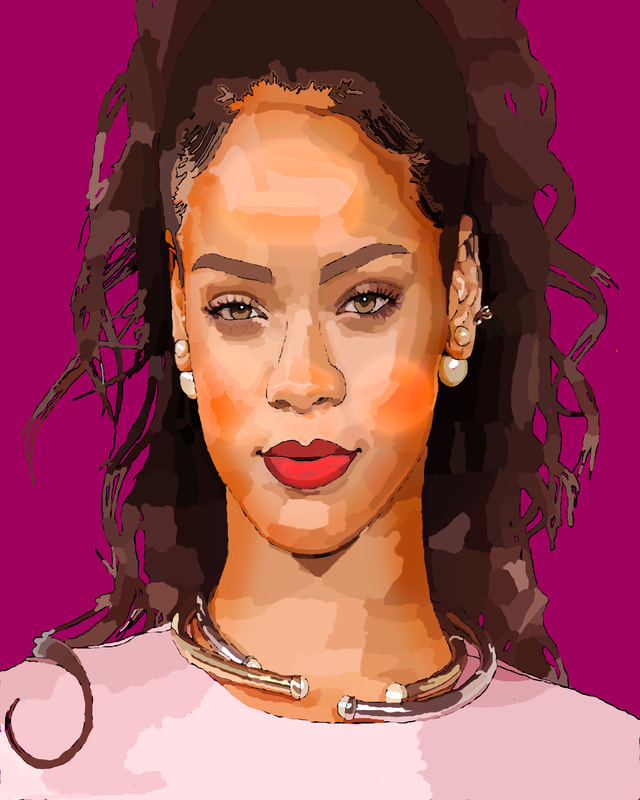
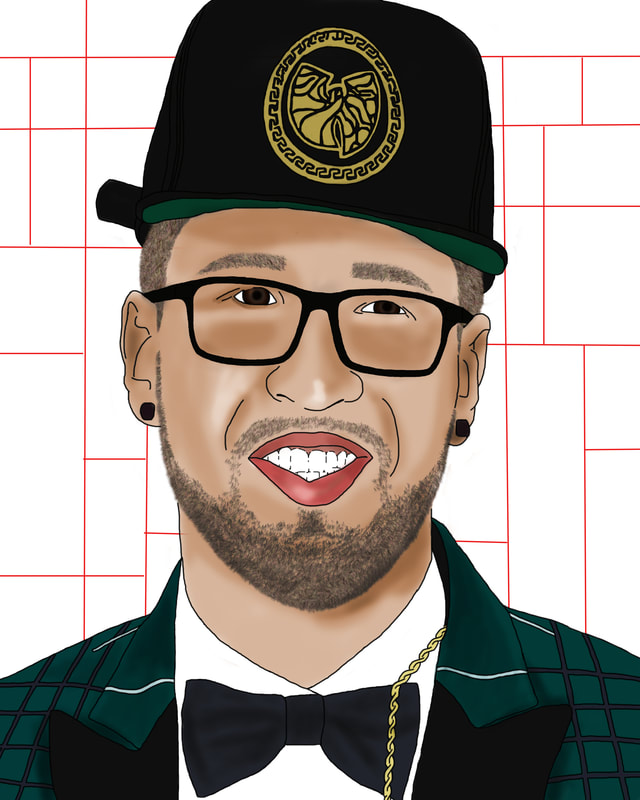
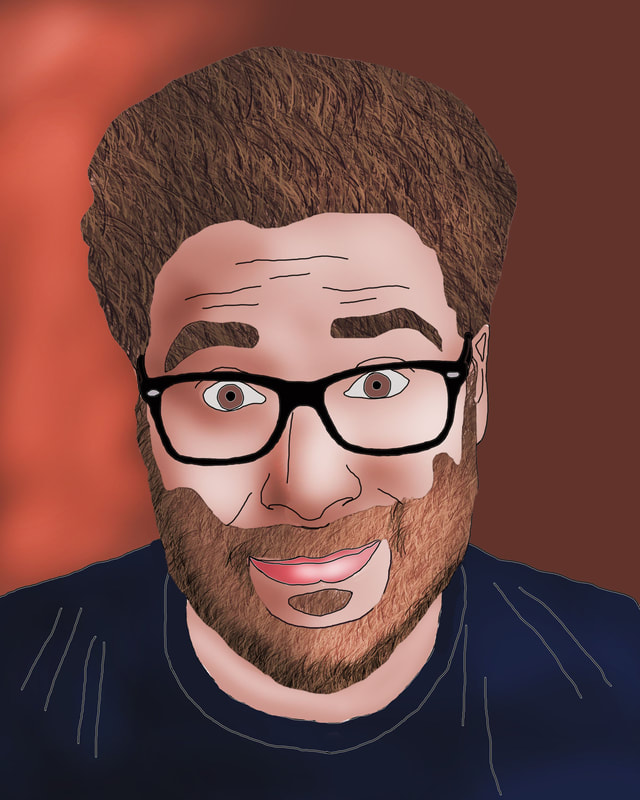
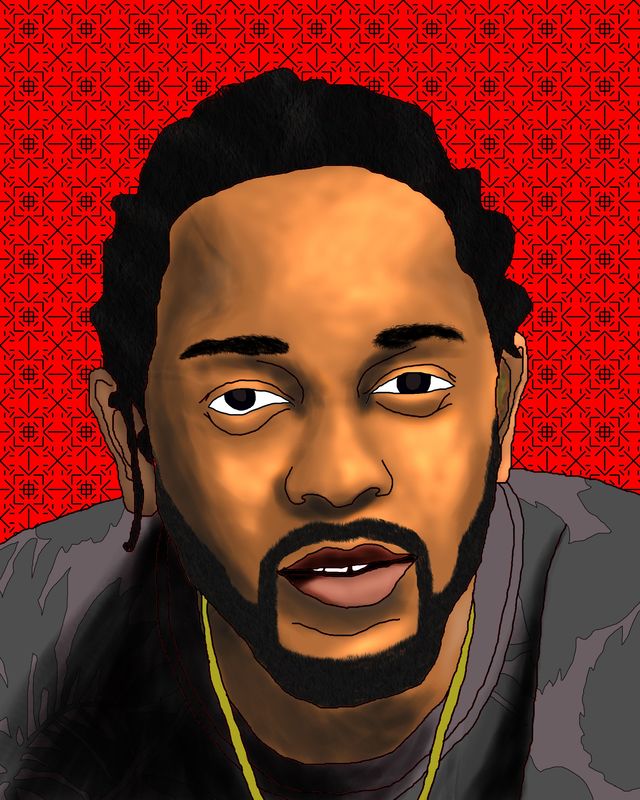
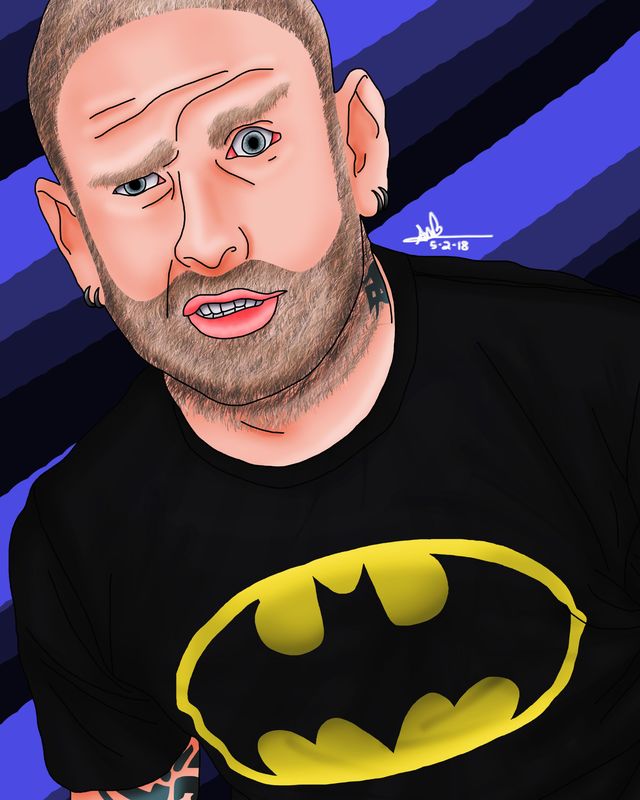
Celebrity Portrait Photo Gallery
Because our faces are not flat surfaces, shadows and highlights occur when a light (the sun, electric light) shines on our faces.
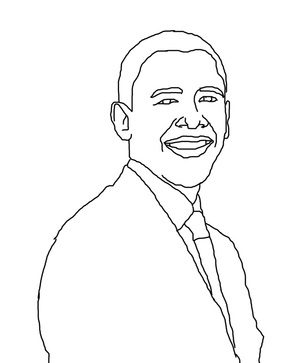
Take a look at the picture below of President Barack Obama. Where do you see shadows on his face? Where do you see highlights?
Take a look at the picture below of President Barack Obama. Where do you see shadows on his face? Where do you see highlights?

Adding shadows and highlights to a face makes it look more realistic.
This project uses a lot of layers.
Renaming your layers can help you keep track of them more easily.
This project uses a lot of layers.
Renaming your layers can help you keep track of them more easily.
Procedure
Set Up
1. Find a headshot of a celebrity on google images. Have it approved by me before moving on to step 2.
2. Copy this photo to your desktop and open it in Photoshop CC.
3. Open a second file in Photoshop CC, 8x10 inches, 300 resolution.
4. Copy your photograph into your new 8x10 file. Stretch it out while holding down the shift key so that fills your 8x10.

|

|

|
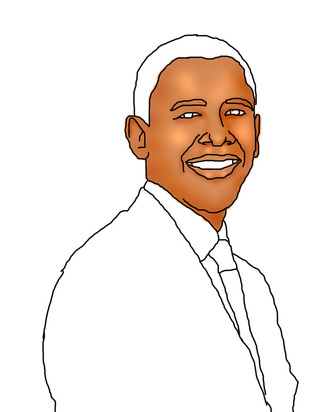
Outline
5. Select a hard round brush, size 5.
6. Zoom in on your picture. This will give you better control for the next step
Create a new layer. Double click on it and rename it "outline".
7. Trace the edges of your celebrity's face, hair, facial features, and body.
Zoom in to help you trace more acurately.

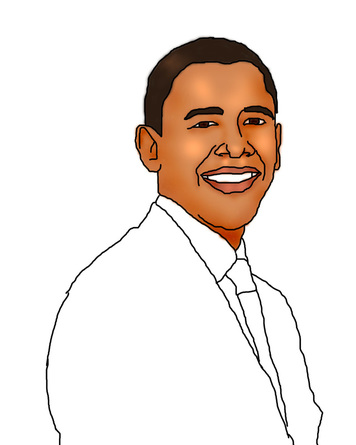
Skin Base Color
8. Create a new layer. Label it "skin". Sample your celebrity's skin color from the original photograph using the eyedropper tool.
9. Click the eyeball on the photo layer to hide the original photograph.
8. Create a new layer. Label it "skin". Sample your celebrity's skin color from the original photograph using the eyedropper tool.
9. Click the eyeball on the photo layer to hide the original photograph.
10. Select the brush tool.
11. Change the brush size to 50.
12. Move your outline layer so that it is on top of the skin layer.
13. Color in the skin areas, using the airbrush you just selected.
11. Change the brush size to 50.
12. Move your outline layer so that it is on top of the skin layer.
13. Color in the skin areas, using the airbrush you just selected.

Face Highlights
14. Look at your original photo. Try to find areas of your celebrity's face where light reflects. For instance, on the Barack Obama picture, light reflects off his cheeks, forehead, and nose.
15. Select the dodge tool. Adjust the exposure to 30%.
16. Add in highlights, using a large brush (200 px) for cheeks and forehead, and a small brush (75 px) for small areas like the nose.

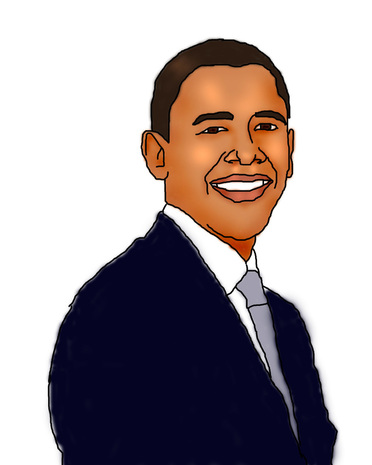
Face Shadows
17. Select the burn tool. Adjust the exposure to 30%.
18. Change the size to about 200 px. Use the burn tool around all of the edges of your celebrities face. Use a smaller brush to do outlines of facial features.
19. Look at your original photo. Try to find areas of your celebrity's face that are darker.
Add in these shadows using the burn tool.
Hair
20. Create a new layer. Label it "hair" by double clicking on it. Move the layer so that it is in between the outline and skin layer.
21. Select your hair color and the same brush tool you used for the face.
Add any shadows and highlights that you see, just like you did to the face. You will probably find shadows and highlights more in girls' hair than boys.

Eyes and Lips
22. Add a new layer. Label it "eyes and lips". Color in each element.
Again, look for and add shadows and highlights using the dodge and burn tools.
22. Add a new layer. Label it "eyes and lips". Color in each element.
Again, look for and add shadows and highlights using the dodge and burn tools.
Clothing
23. Create a new layer. Label it "clothing."
24. Color in the clothing area. Look for and add shadows and highlights.
23. Create a new layer. Label it "clothing."
24. Color in the clothing area. Look for and add shadows and highlights.
Background
25. Choose a background for your portrait. You can use a solid color or do something a little more interesting. Think about what color background would work best with the colors used in your portrait.
25. Choose a background for your portrait. You can use a solid color or do something a little more interesting. Think about what color background would work best with the colors used in your portrait.
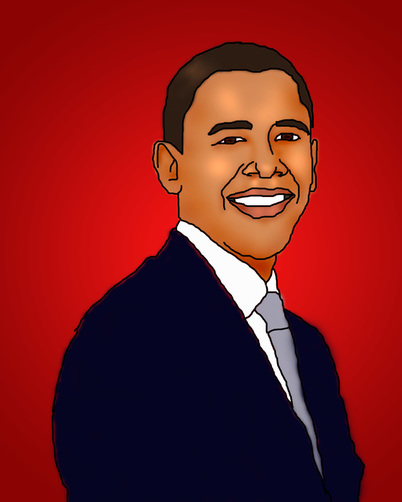
Save and Finish
26. When you have completed the assignment, save your file as LNFl_Celeb.jpg
27. Place assignment in the specified Dropbox on SchoolSpace.
26. When you have completed the assignment, save your file as LNFl_Celeb.jpg
27. Place assignment in the specified Dropbox on SchoolSpace.
Grading Rubric
- Composition - did you use your space in an interesting way?
- Craftsmanship - did you pay attention to detail and make your work as neat as possible?
- Creativity - did you experiment with new or different ideas?
- Procedure - did you meet all the project requirements? Did you save and submit your file in the correct format?
- Space - did you demonstrate an understanding of foreground, middle ground, and background?
